(801) 623-6717
1623 N State ST, Orem UT 84057
The Best Transformation Gym In Orem
Get set up with a Free Session
Welcome
Welcome to EXL Fitness & Performance, the most experienced and sought-after personal training studio in Utah Valley. Founded in 2008 by Mat Gover, we believe fitness is about more than just workouts—it’s about building lasting strength, confidence, and a supportive community. Whether you're brand new to fitness or a seasoned athlete, our programs are designed around you.

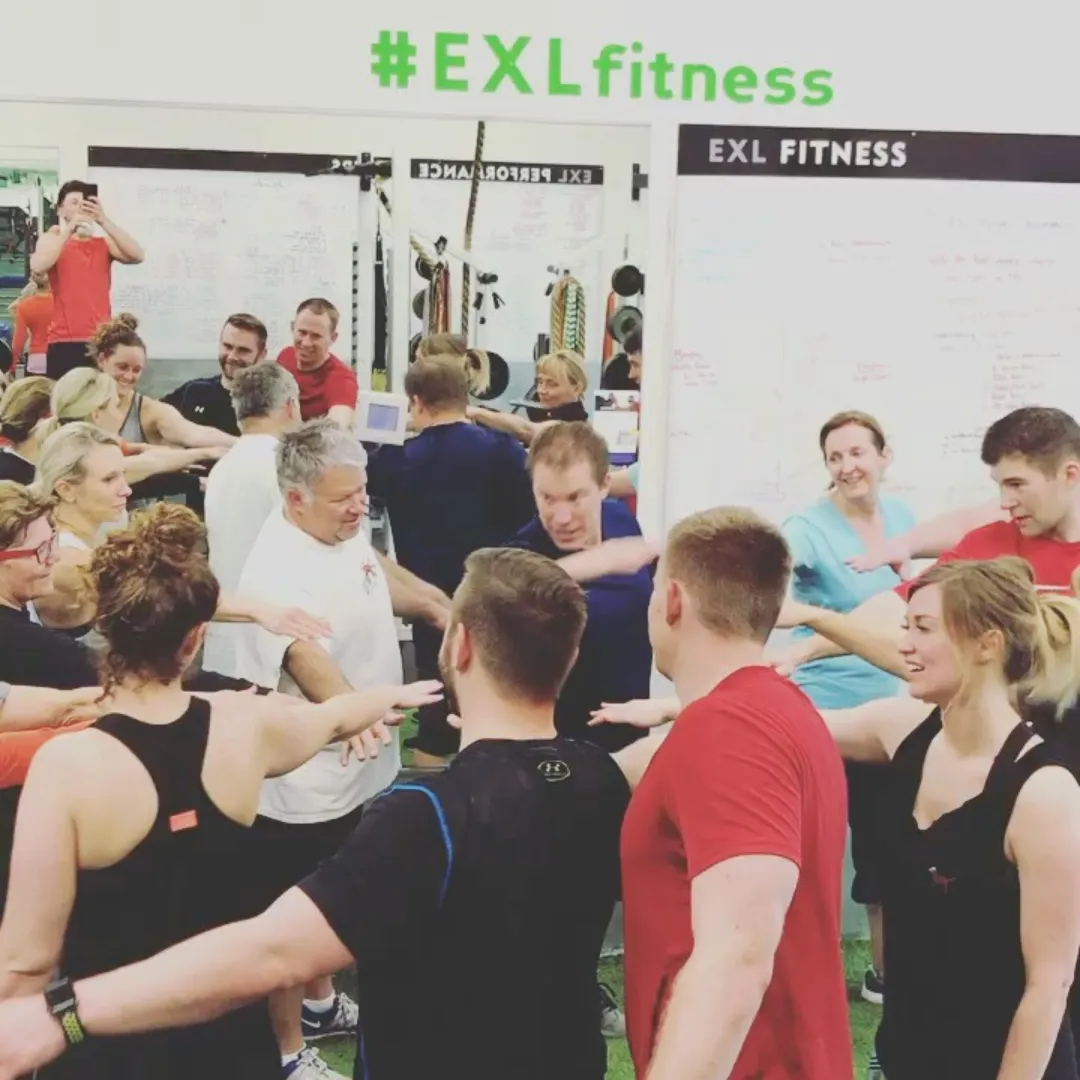
Unmatched Expertise and a Supportive Community
Our greatest strength is our people. From our coaches with decades of expertise to a community that truly cheers you on, you'll find an atmosphere that's motivational, positive, and free of the egos often found in big-box gyms. We specialize in working with adults 40–70+, providing the individualized care and expert guidance that a big gym simply can't match.

A Proven Path to Weight Loss and Vitality
EXL has helped hundreds of clients achieve major transformations, including many who lost over 100 pounds. Our focus goes beyond the number on the scale. We combine our expert coaching with personalized nutrition coaching in Orem to help you restore mobility, regain energy, and achieve sustainable weight loss that allows you to do what you love with the people you love.

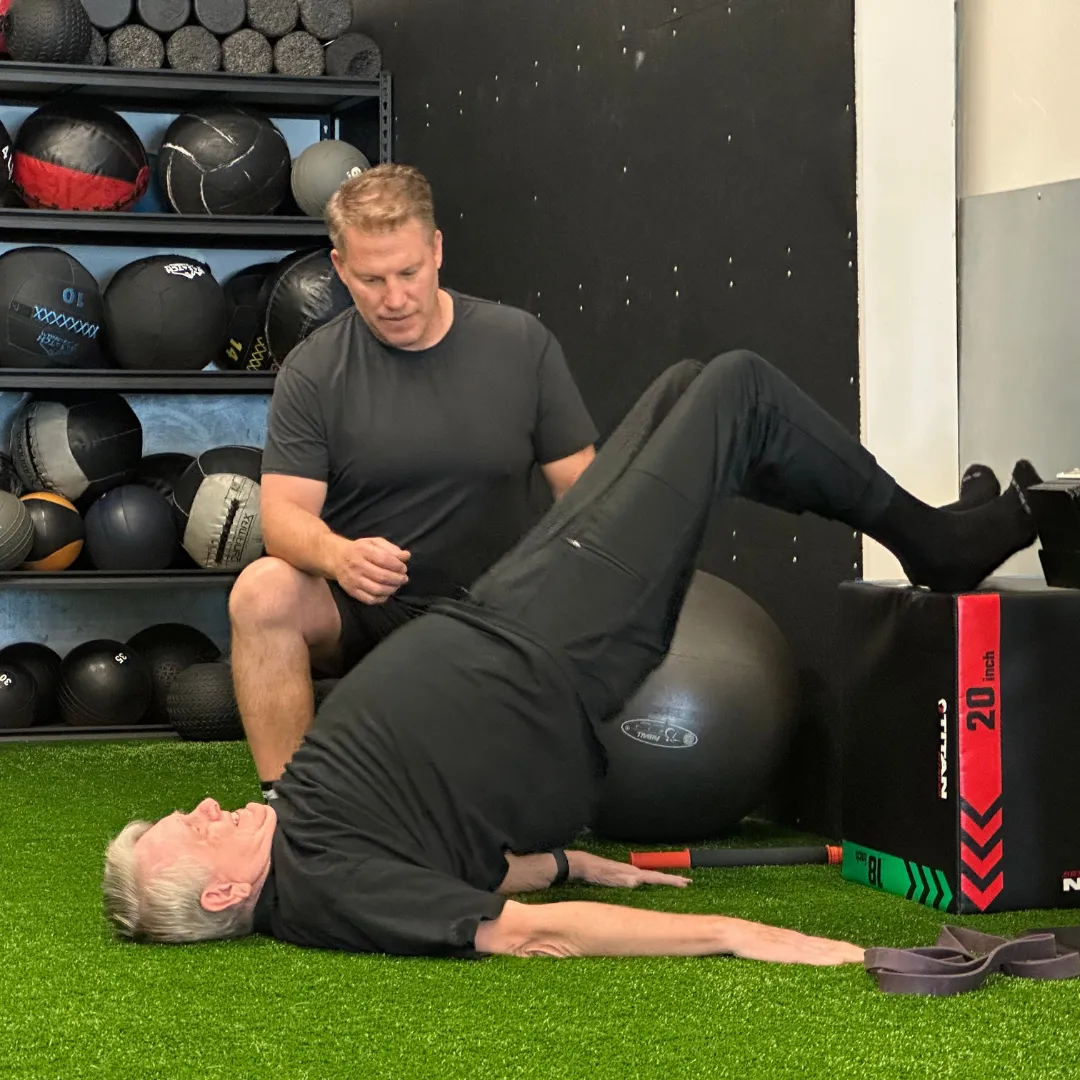
Customized Personal Training in Orem
We specialize in delivering personalized, science-driven programs that fit your unique needs and lifestyle. Our expert coaches create every plan to help you succeed, whether you choose our one-on-one, small group, large group or virtual training. This tailored approach is what makes us the top choice for a personal trainer in Orem.
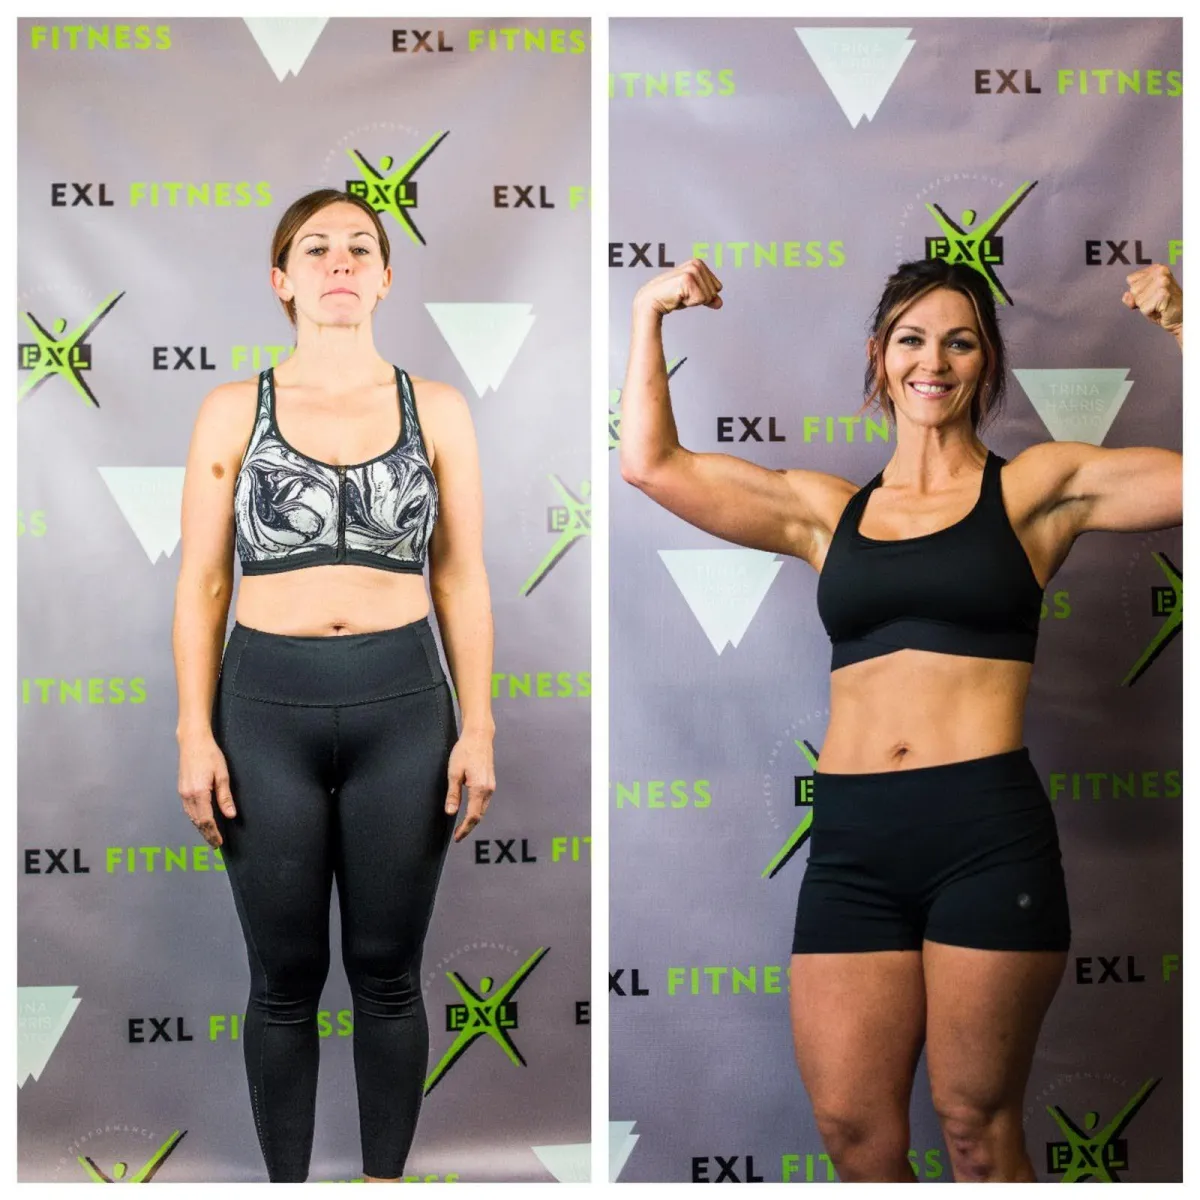
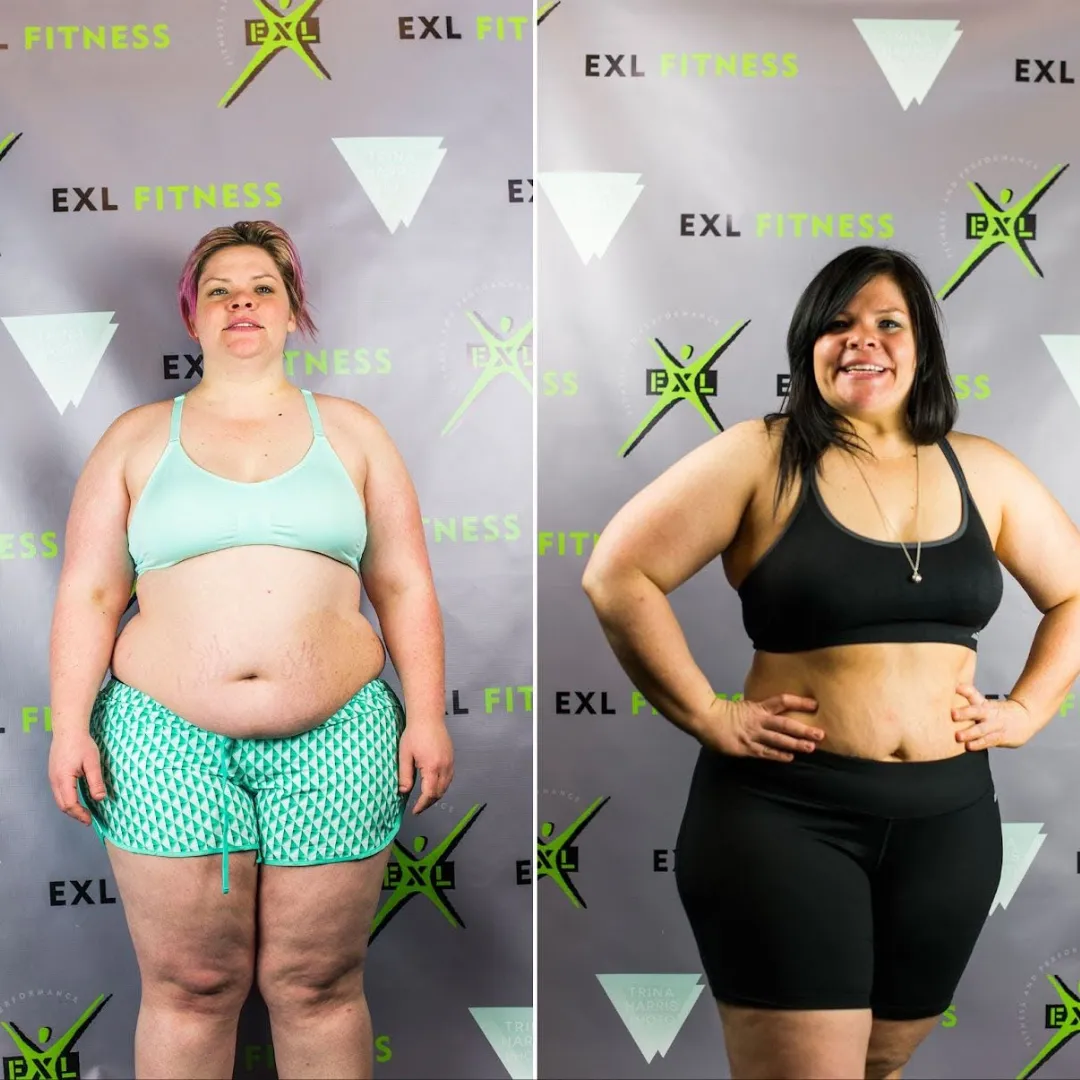
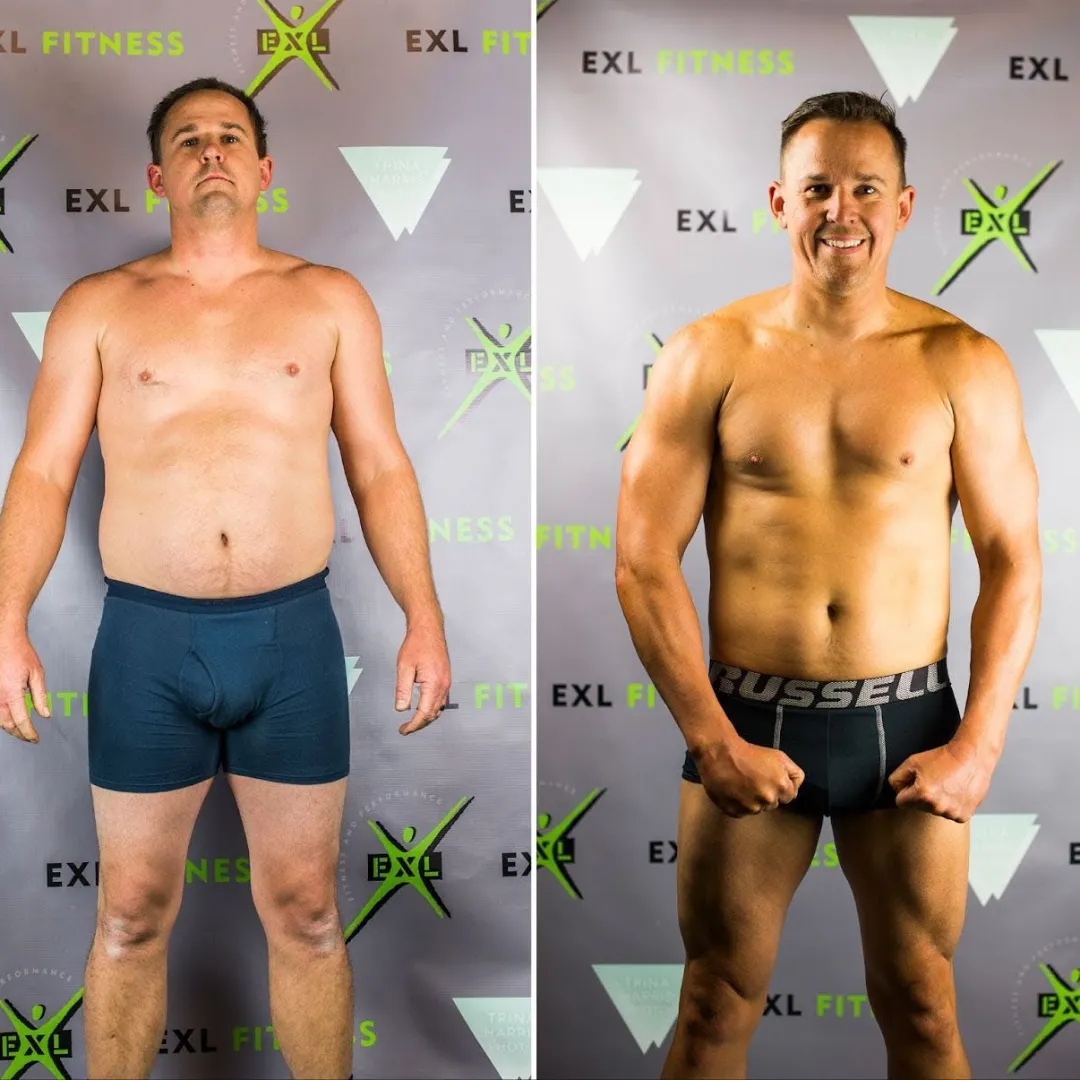
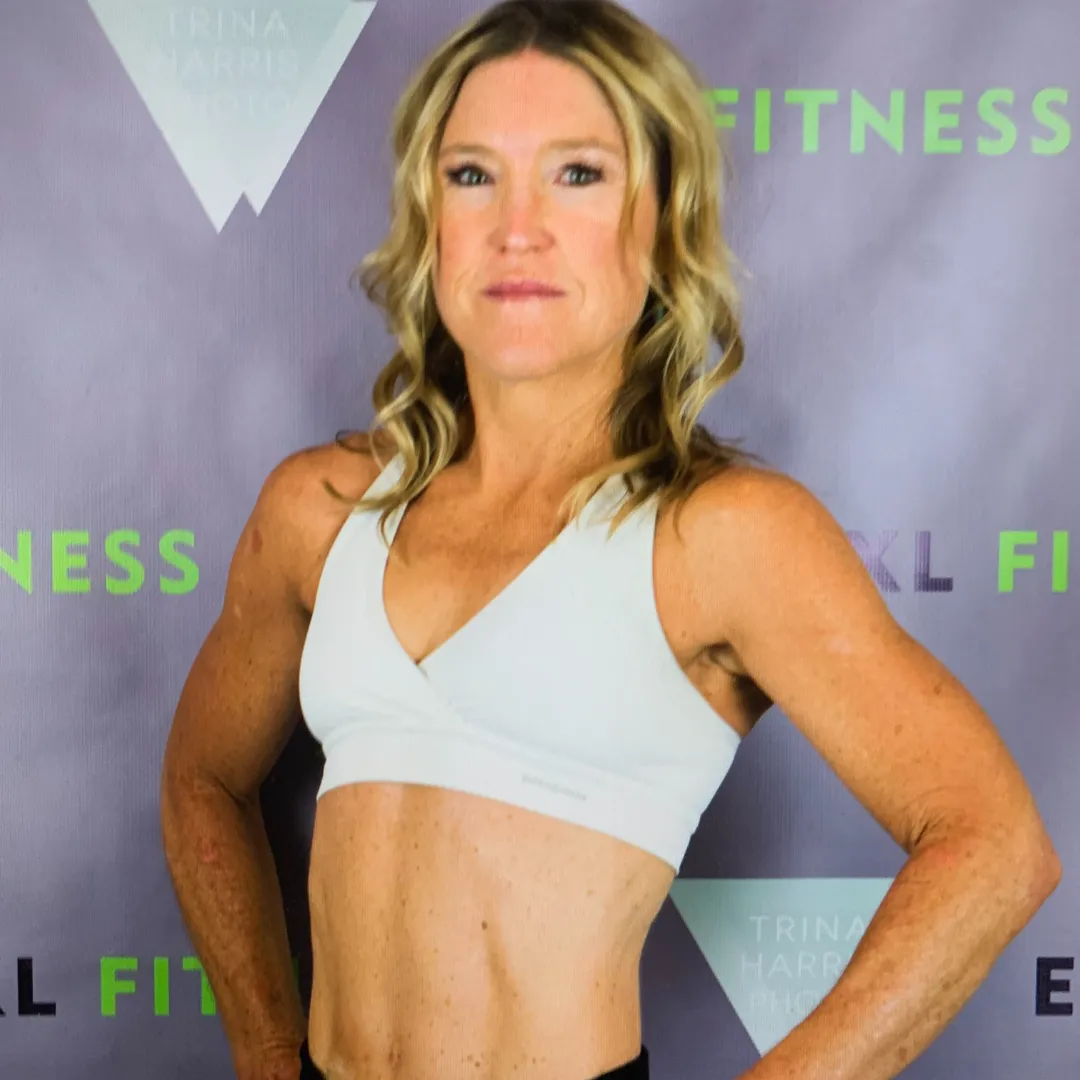
Real People Real Results
Don't just take our word for it—see the incredible transformations our clients have achieved. From significant weight loss in Orem to incredible strength gains and renewed confidence, our members prove that our proven system works. Check out their success stories and Google reviews to see why we are the top choice for personal training in Orem.
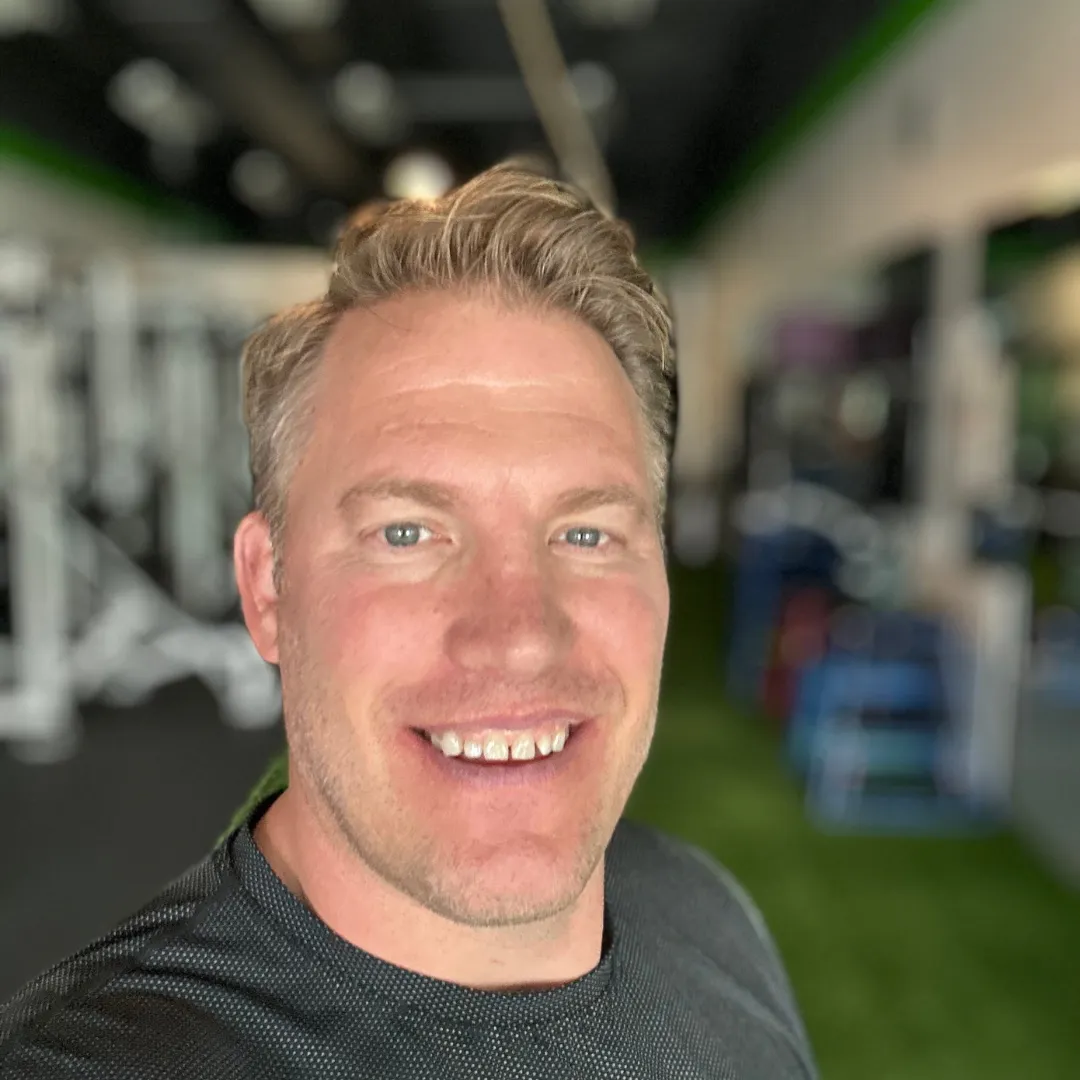
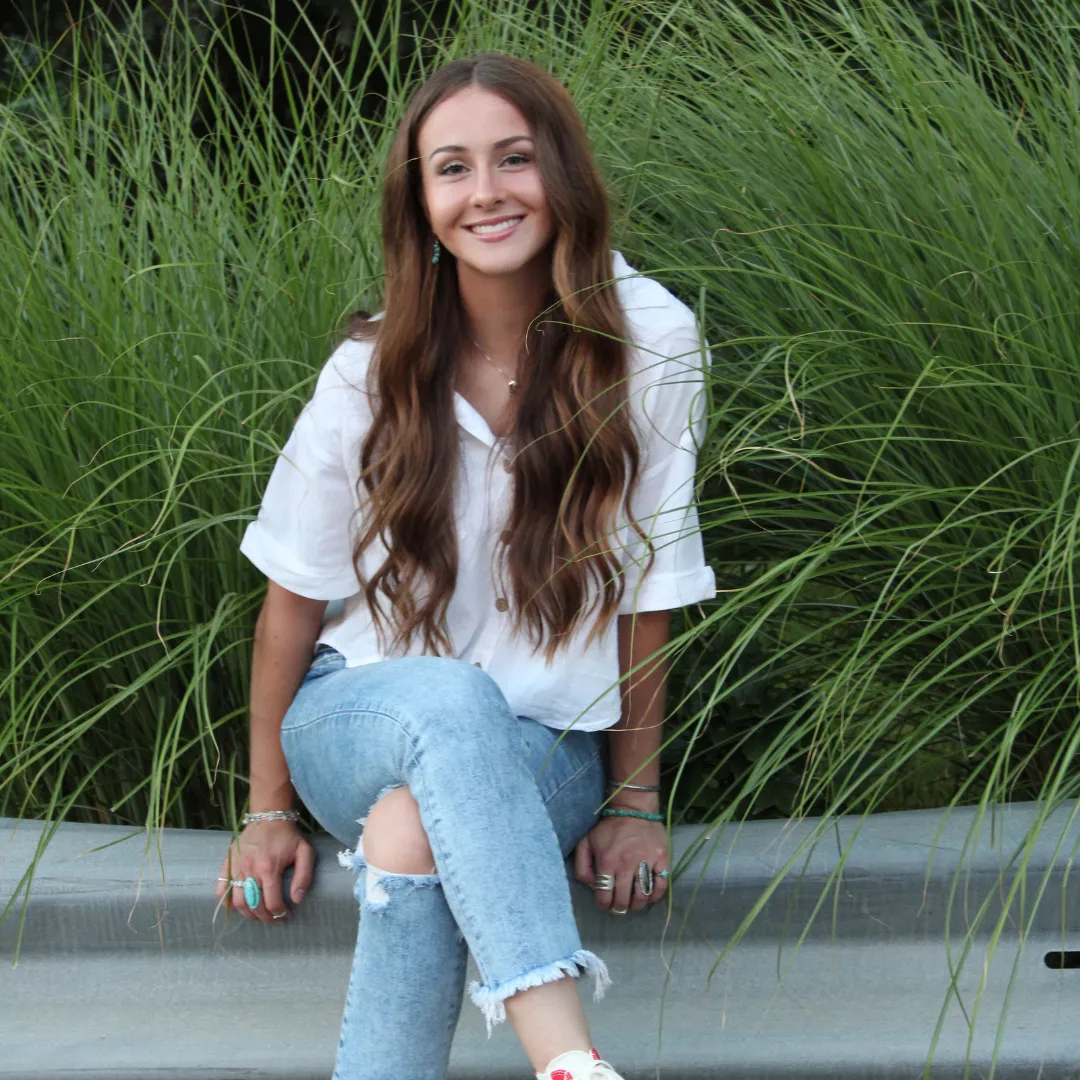
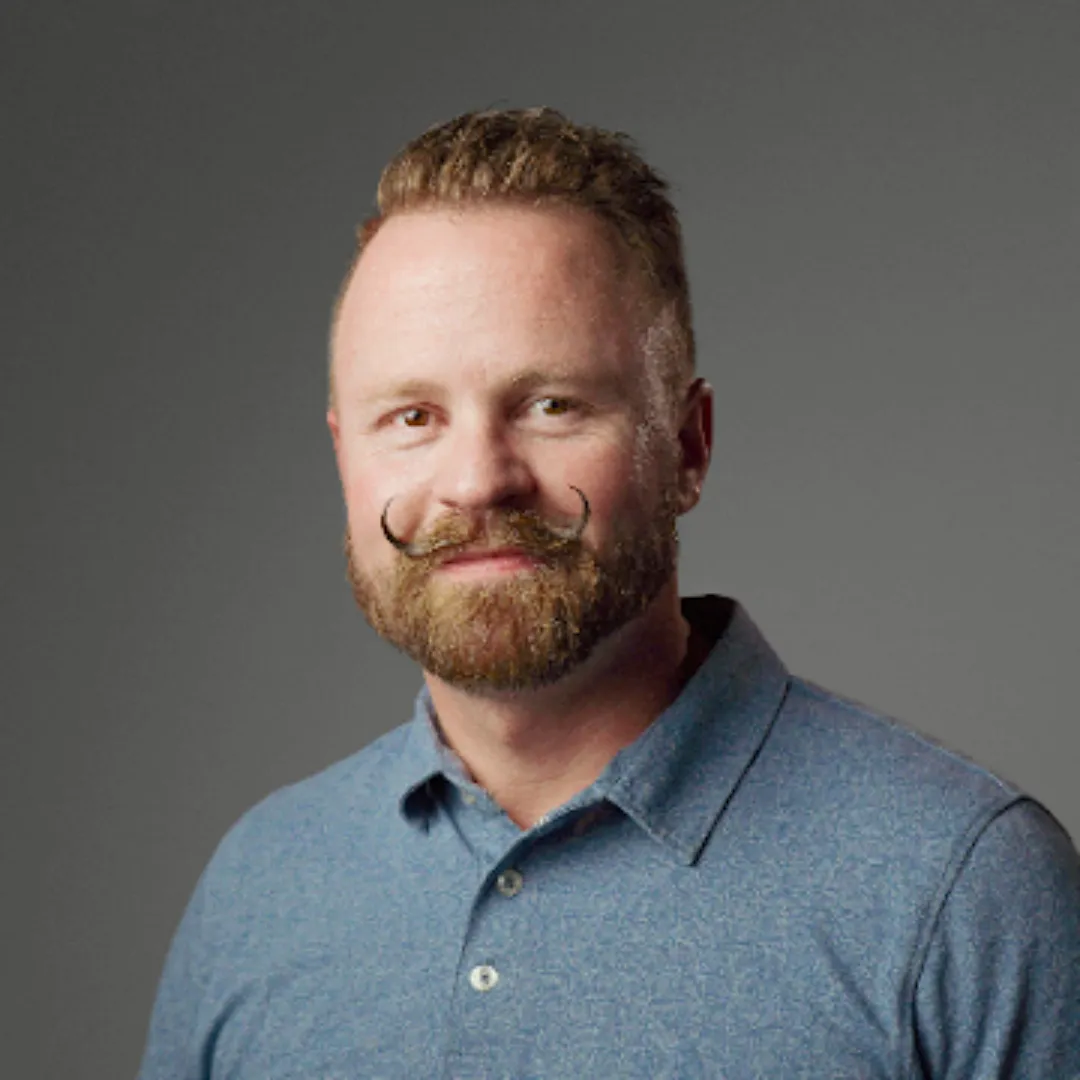
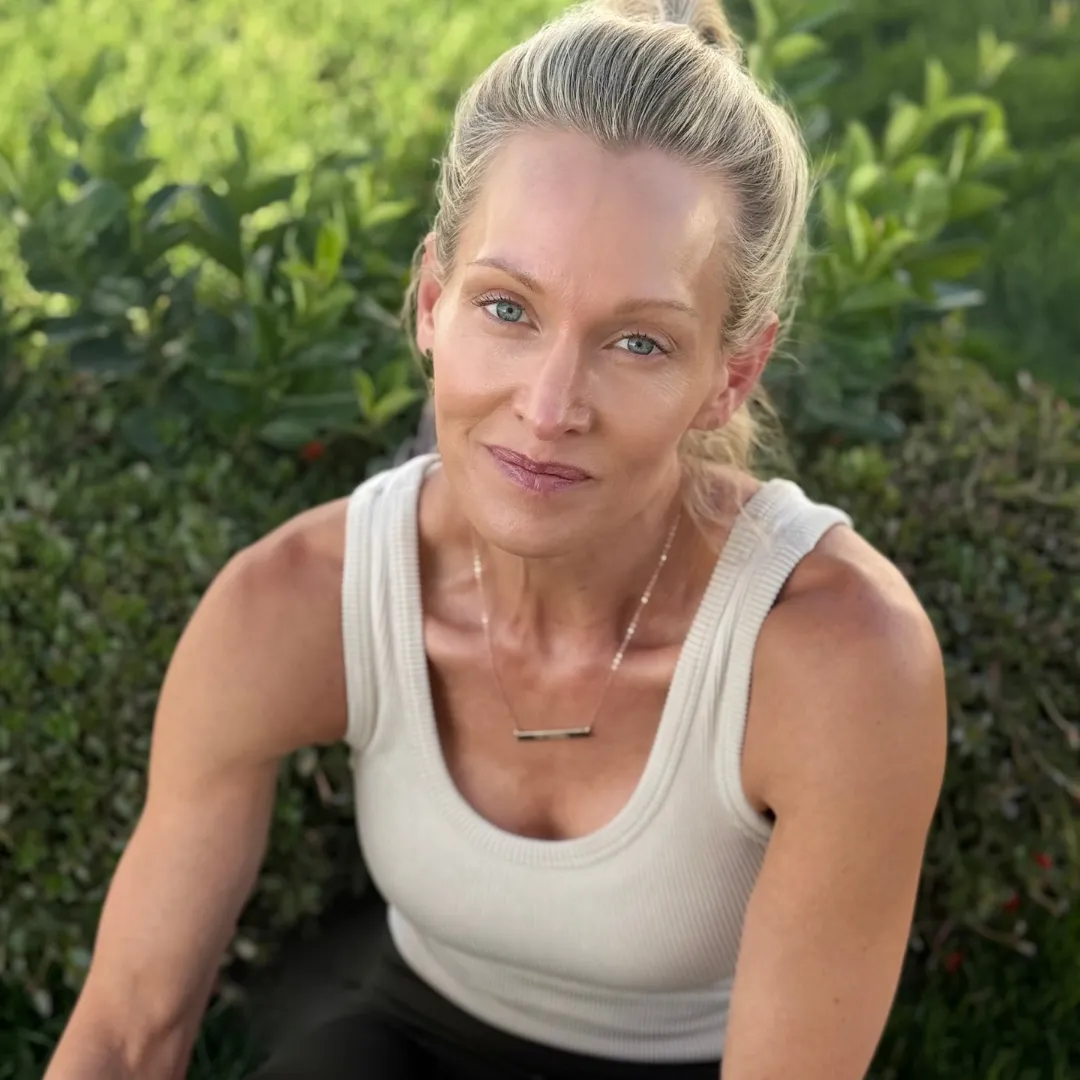
Meet Your Coaches
Our team of expert coaches is the heart of what we do. With decades of combined experience, our certified personal trainers specialize in helping adults of all ages regain strength, restore mobility, and improve their quality of life. From NASM-certified coaches to specialists in nutrition coaching, our team is dedicated to providing the most effective, science-driven personal training in Utah Valley. They are committed to providing a supportive, welcoming, and ego-free environment where you can feel confident and motivated.
Mat Gover

Katie Thornton
Kim Reynolds
Macie Thornton
Jonathan Kruitmoes
Aubrey Kruitmoes
READY TO GIVE US A TRY?
Get Your Free Session!
You are 3 steps away from having the body of your your dreams.
1. Click Get Started
2. Fill Out Your Info
3. Pick A Time To Come In
Services
At EXL Fitness & Performance, we apply the quality of personal training to every program we offer. We provide a variety of options to meet you wherever you are on your fitness journey, from private sessions to energizing group classes.
Personal Training
Our one-on-one sessions are the ultimate way to achieve your goals. You'll work directly with a certified Orem personal trainer to create a fully customized program based on your goals, fitness level, and schedule.Work directly with a dedicated coach to create a custom program tailored to your specific needs and goals.
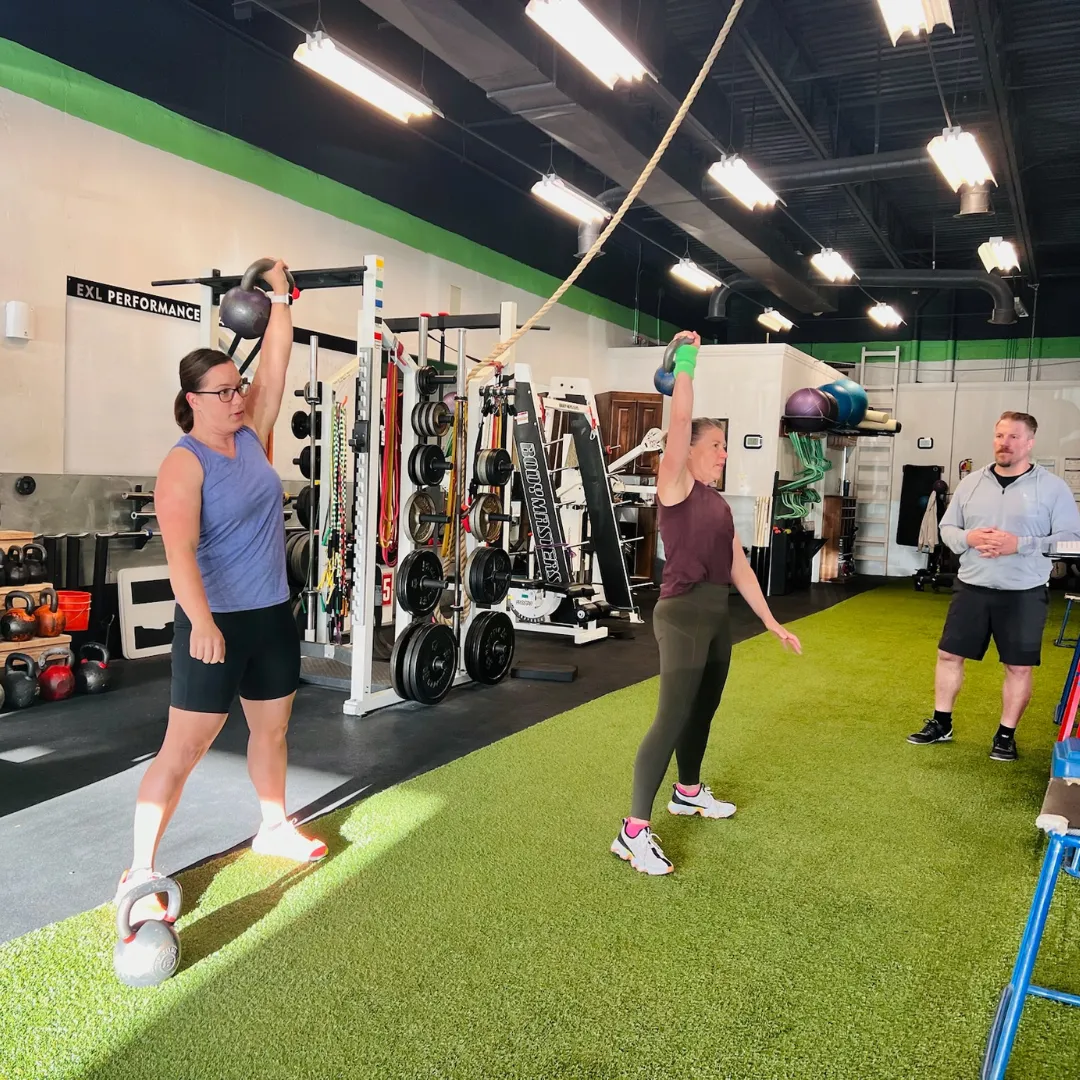
Semi-Private Training
Get the personalized attention of a private session with the motivating atmosphere of a small group. In our semi-private sessions, you'll train alongside 2-4 other like-minded individuals, all following their own custom programs.
Large Group Training
Our high-energy fitness classes in Orem are perfect for those who thrive in a group environment. These sessions combine strength and cardio to provide a fun, challenging workout that delivers results.Join a high-energy class led by a coach, focusing on a variety of exercises to build strength and endurance in a fun, dynamic setting.
STILL NOT SURE?
Frequently Asked Questions
Why should I choose EXL Fitness over a regular gym?
What makes EXL the top choice for personal training in Orem?
We are the most experienced personal training studio in Utah Valley, with decades of expertise. Our science-driven approach, tailored programs, and focus on both fitness and mobility set us apart from a typical gym.
What kind of fitness classes do you offer?
We offer a unique blend of fitness classes in Orem—Small Group and Large Group sessions that combine the energy of a group setting with the personalized attention of a personal trainer. This ensures you get a safe, effective workout every time
Can you help me with weight loss?
Yes, we specialize in helping clients achieve weight loss in Orem. Our programs combine expert training with personalized nutrition coaching and accountability to deliver sustainable, long-term results that last a lifetime.
I'm over 40. Is this the right gym for me?
Absolutely. We specialize in training adults ages 45–65, focusing on helping you regain mobility, restore energy, and feel confident and strong. Our programs are designed to help you continue to do what you love with the people you love.
© Copyright 2026 EXL Fitness. All rights reserved.